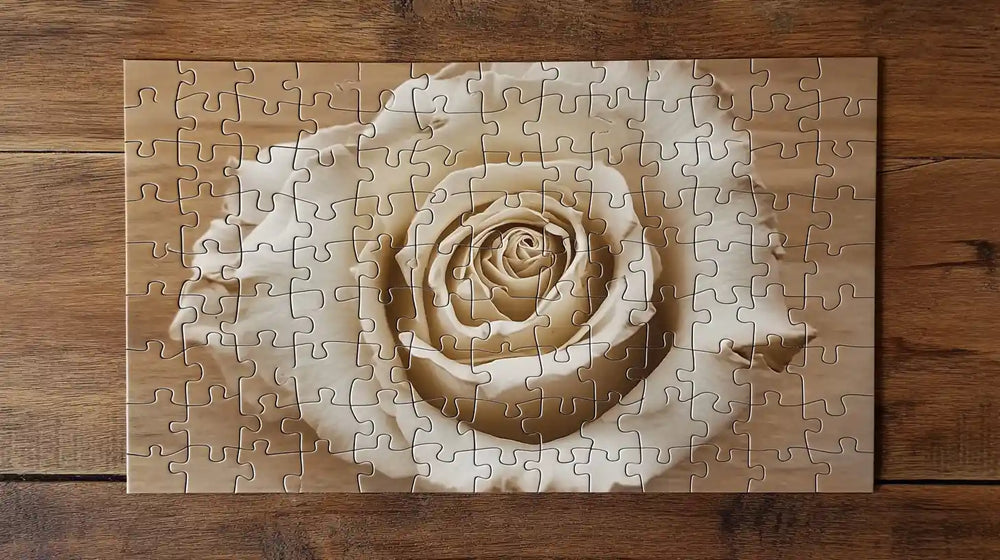
When you think about wooden puzzles, you might wonder how those intricate pieces come to life. It's not just about the type of wood, although that's important too. The real magic happens during the cutting process, where various techniques like scroll saws, laser cutting, and CNC machines each play their part.
But what makes one method superior for specific designs? And how does the choice of cutting technique affect the final appearance of the puzzle? As you explore these questions, you'll uncover the craft behind creating those captivating puzzles you enjoy piecing together.
Key Takeaways
- High-quality plywood is perfect to ensure durability and smooth edges in puzzle pieces.
- Design patterns are created digitally, printed, and attached to wood for accurate cutting.
- Laser cutters use focused light beams for precise cuts, achieving speed and minimal cleanup.
- CNC machines offer automated precision for intricate designs, accommodating various wood thicknesses with minimal post-cut sanding.
Types of Wood Commonly Used
When choosing wood for cutting puzzles, 1/4-inch 5-ply Ribbon Stripe Sapele Mahogany plywood is often the top choice. Its durability and high-quality finish make it perfect for creating wood puzzles.
This type of wood also resists splintering, ensuring a smooth edge and a seamless fit for each piece.
While Sapele Mahogany is excellent, alternatives like bass or birch plywood are also used. Some makers choose 3-ply plywood for lighter projects, though they might sacrifice some durability.
Preparation Before Puzzle Making
To get started with cutting a wood puzzle, focus on designing a puzzle pattern and preparing the wood surface.
Design the Puzzle Pattern
Selecting the right image is crucial when designing your puzzle pattern. Start by choosing an image you love, or customize one using templates from sites like cuttle.xyz.
Once you've got the perfect picture, design and create your jigsaw puzzle layout. Adjust the settings, including the number of rows and columns, piece size, and bleed, to tailor your wooden jigsaw to your liking.
After finalizing your design, download the required files in PDF format for printing and SVG format for cutting.
Prepare the Wood Surface
With your puzzle design ready, it's time to prepare the wood surface for cutting.
- Start by cutting the board to a size that fits comfortably on your workspace.
- Use sandpaper, beginning with 80 grit and moving up to 180 grit, to smooth the wood surface.
- Next, apply a temporary spray adhesive to secure your paper pattern onto the wood.
- Cover the pattern with clear packing tape to protect it during cutting.
- For intricate designs, pre-drill any necessary cut-outs or holes to enhance precision.
Following these steps ensures your wood is perfectly prepped for creating beautiful puzzles.
How Are Wooden Puzzles Cut? 3 Cutting Techniques

When cutting wood puzzles, you have three techniques to consider, each with its own benefits.
Method 1: Scroll Saw
Creating wood puzzles manually involves using a scroll saw. This versatile tool allows for precise and intricate cuts.
Start by selecting high-quality material to minimize splintering. Choosing the right blade is crucial. Opt for the thinnest ones, between .009 and .020 inches thick, to navigate tight turns and achieve detailed designs.
Set your scroll saw to around 1100 rpm for better control and precision. The cutting time varies from 30 to 90 minutes. This depends on the puzzle's complexity and wood hardness.
Method 2: Laser cutting
Laser cutting revolutionizes the way wooden puzzles are crafted. It uses a focused beam of light to achieve precise and intricate designs.
Begin by uploading an SVG file of your desired design. Securely position the wood on the machine's bed.
The laser's power and speed settings, typically at 80-100% power and 10-20 mm/s, ensure clean cuts without burning edges.
Once the laser cuts the jigsaw shapes, carefully remove the pieces with a plastic razor to avoid damage.
Clean off any masking tape to reveal a polished, custom wooden puzzle ready for assembling.
Method 3: CNC Cutting
With CNC cutting, you can achieve unparalleled precision and consistency. This method employs computer-controlled machines to carve intricate designs into the wood. It gives each puzzle piece exact shapes.
With this machine, you can create complex patterns and custom designs that manual cutting can't match. It also accommodates various wood thicknesses, typically ranging from 1/4 inch to 1/2 inch. This ensures your puzzles are both stylish and durable.
The machines operate at optimal speeds, usually between 80 and 150 inches per minute. After the pieces are cut, minimal sanding is required, as the precision of CNC cutting leaves smooth edges.
Finishing Touches

As you finish your wood puzzle, remember to sand the edges and apply finishes.
Sand the Edges
Sanding is an essential step, ensuring each piece is smooth and splinter-free. By refining the edges, you enhance the puzzle's finish and durability.
Final sanding usually involves various grits of sandpaper, progressively refining each piece for a polished look. This meticulous attention to detail improves the puzzle's appearance and reduces the risk of splintering.
Apply Finishes
Applying finishes to your puzzle enhances both durability and aesthetic appeal.
Select finishes like tung oil, mineral oil, or shellac. These finishes provide a robust protective coating, extending the puzzle's lifespan.
Remember to let the finish dry completely before proceeding to further customization.
Once dry, you can enhance visual appeal by gluing decorative elements like crystals or jewelry wire. These additions allow for customization and make your puzzle truly unique.
Conclusion
When crafting wooden puzzles, various cutting techniques are available, each catering to different design needs.
Whether you choose a scroll saw, laser cutting, or CNC cutting, your focus should be on high-quality plywood and optimizing your cutting settings.
With careful attention to detail, you'll achieve smooth, splinter-free edges, ensuring a polished and professional final product.
FAQs
How Do They Cut Wood Puzzles?
They cut wood puzzles using a laser cutter or scroll saw. Secure the wood, sand it smooth, and align your design. Then, let the laser or saw do the work, ensuring precision with each intricate piece.
How Do Puzzle Pieces Get Cut?
Start by positioning the wood on a laser or scroll saw. Secure it, prep the surface, and follow your design. Use masking tape to prevent burns. Carefully cut and sand the pieces for a smooth finish.
Are the Same Puzzles Cut Differently?
Yes, the same puzzles can be cut differently based on design complexity, material thickness, and desired finish. Techniques like laser cutting or scroll sawing adapt to these factors, ensuring unique outcomes for each puzzle.
What Are the Different Cuts for Jigsaw Puzzles?
You can choose from traditional ribbon cuts or more complex random cuts for jigsaw puzzles. Ribbon cuts have uniform, interlocking pieces, while random cuts offer unique, varied shapes, adding an extra challenge and unpredictability to your puzzle experience.