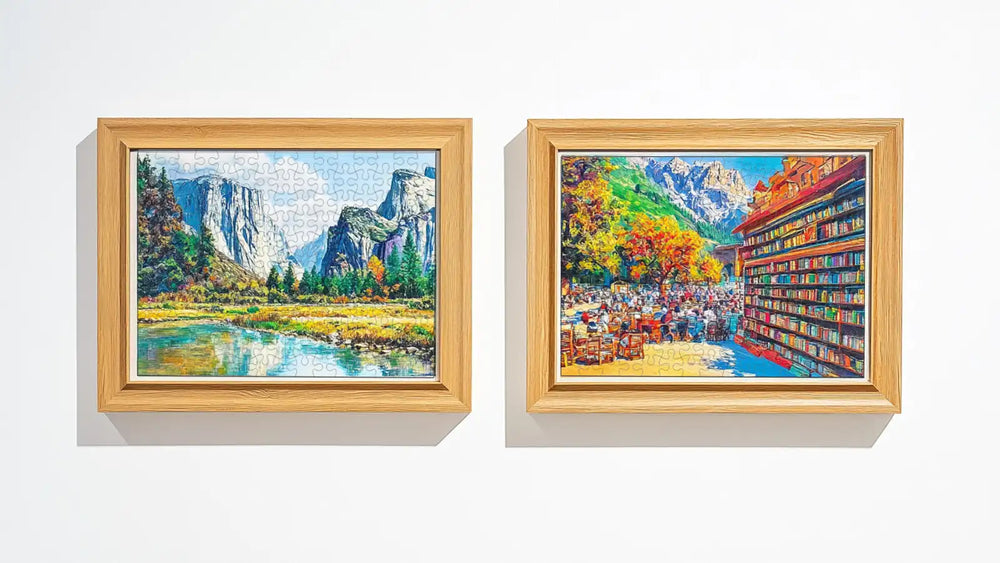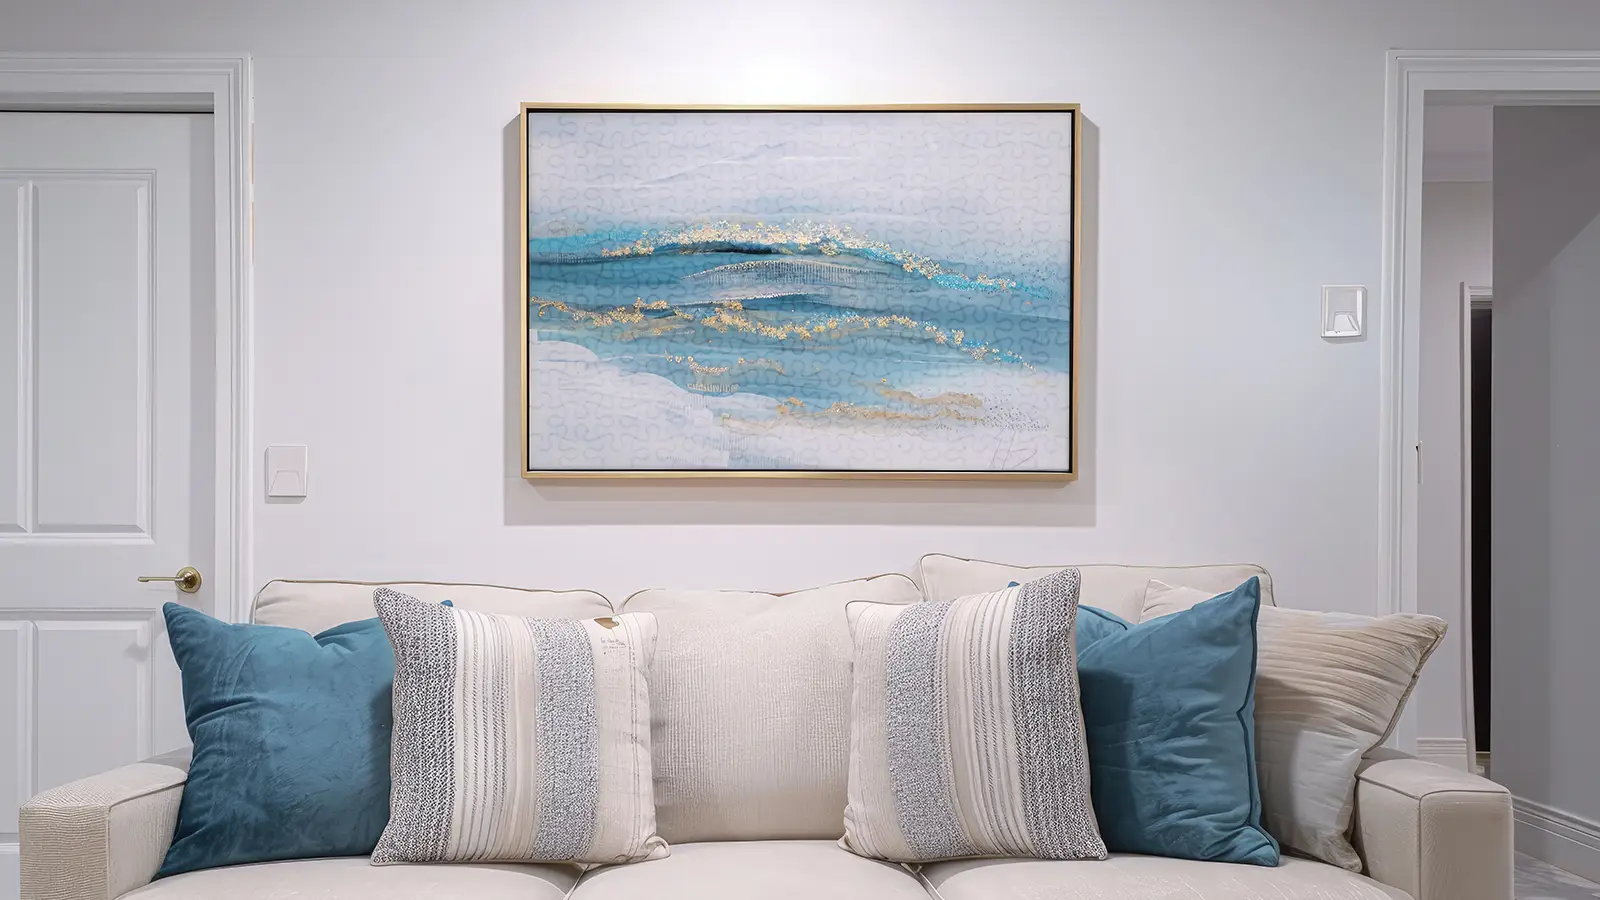
Hanging a wooden puzzle can transform a simple piece of art into a stunning focal point in your home. Whether it's a cherished childhood memory or a beautifully crafted design, showcasing your puzzle adds a personal touch to your decor.
However, hanging it correctly requires some thought to ensure it remains secure and visually appealing. In this guide, we'll explore how to hang a wooden puzzle, ensuring that your masterpiece is displayed beautifully and stands the test of time. Get ready to elevate your wall art game!
Key Takeaways
- Ensure all puzzle pieces are securely glued and dried before hanging.
- Attach the completed puzzle to a sturdy backing board for added stability.
- Select a frame that complements the puzzle's dimensions and enhances its aesthetic.
- Install D-ring hangers or sawtooth hangers for secure wall mounting.
- Use 3M picture hanging strips for damage-free and stable wall attachment.
Prepare the Necessary Materials
To hang a wooden jigsaw puzzle, you'll need a few essential materials to ensure it's secure and looks great on your wall.
- Puzzle Glue: To secure the puzzle pieces together.
- Wax Paper: To protect your work surface while gluing the puzzle.
- Puzzle Frame or Backing Board: Depending on how you want to display it (frame or frameless).
- Picture Hanging Kit: Includes hooks, wire, and screws suitable for the weight of the puzzle.
- Straight Edge or Rolling Pin: To ensure the puzzle is flat after gluing.
- Hanging Hardware: D-rings, sawtooth hangers, or adhesive strips for frameless options.
How to Hang a Wooden Puzzle: Step-by-Step Instructions

Let's walk through the steps to hang your wooden puzzle.
Start by preparing the puzzle and applying glue to secure the puzzle together.
Attach it to a backing board, frame it if desired, and then install the hanging hardware.
Step 1: Apply Puzzle Glue
When you're ready to glue a wooden puzzle, start by placing wax or parchment paper under it to protect your work surface from any glue drips.
Apply a thin layer of glue to the puzzle, ensuring you spread the glue evenly across the surface.
Once done, allow the glue to dry.
Step 2: Attach the Puzzle to a Backing Board
After gluing a puzzle, cut a piece of cardboard, foam board, or mounting board to match its dimensions precisely.
Apply a light, even layer of clear drying glue to the back of the puzzle, focusing on the edges.
Align the glued puzzle with the backing board, press gently, and place a weight on top.
Allow it to dry for 24 hours.
Step 3: Frame the Puzzle (Optional)
Selecting an appropriate picture frame is crucial for showcasing your wooden puzzle. Choose a wooden frame that fits the dimensions of your puzzle, and consider a shadow box frame if it has considerable depth.
Use a secure method, like clips or brads, to keep the puzzle in place. Ensure the frame enhances the puzzle's aesthetic.
After framing, you'll add the hanging hardware.
Step 4: Install Hanging Hardware
Installing the hanging hardware ensures your wooden puzzle is securely displayed.
Start by selecting D-rings or sawtooth hangers to support its weight. Attach the D-rings about one-third down from the top.
Use a level to mark the desired height on the wall. Secure it with nails into wall anchors or adhesive strips.
Double-check for a secure display.
Step 5: Hang Your Puzzle
Hanging your wooden puzzle is the final step to showcase your hard work.
Choose a secure hanging method such as 3M picture hanging strips. Measure and mark the desired height for accurate placement.
Adhere the adhesive strips to the puzzle's back, pressing firmly. Attach the puzzle to the wall, ensuring it's centered and level.
Regularly check to maintain stability and alignment.
Add Complementary Decor to Enhance Your Display

Enhancing the display of your wooden puzzle with complementary decor can make your space even more inviting.
Use complementary colors from the puzzle in surrounding decor, like cushions or throws. Incorporate wall art or photographs that reflect the puzzle's theme for a cohesive look.
Arrange small decorative items near the puzzle, and consider creating a gallery wall with similar framed artwork for dynamic visual impact.
Maintenance Tips for Framed Wooden Puzzles
Maintaining your wooden puzzle display ensures it stays beautiful and secure over time.
Regularly inspect the adhesive to maintain its hold and prevent warping. Dust gently with a soft cloth to protect the surface. Avoid direct sunlight to prevent fading.
Periodically check the hanging hardware to ensure it remains secure. Consider a protective cover to shield from dust and damage.
Conclusion
Hanging your wooden puzzle is a rewarding way to showcase your hard work and creativity. By following these steps and using the right materials, you'll ensure your puzzle stays secure and looks great.
Don't forget to add complementary decor to enhance its beauty. With a little maintenance, your display will last for years. Now, enjoy the satisfaction of seeing your masterpiece on the wall every day!
FAQs
How to Hang a Wood Puzzle?
You should make sure the puzzle is backed securely before hanging. Use picture hangers or D-ring brackets, and a level to ensure straightness. Consider 3M strips for lighter puzzles, and position it at eye level for best visibility.
Do You Glue the Front or Back of a Puzzle?
You should glue the back of the puzzle to ensure stability and avoid damaging the front artwork. Apply a light coat of glue, let it dry under weight for 24 hours, and you're good to go.
What Kind of Glue to Use on a Wooden Puzzle?
You'll want to use liquid glue that dries clear and strong for a wooden puzzle. It's easy to apply and ensures an even coat. Follow the manufacturer's instructions for drying times to avoid damaging the puzzle.
How Do You Hang a Puzzle Without Ruining It?
Using picture hanging strips, you can hang a puzzle without ruining it. Attach the strips to a sturdy backing, like foam core, and carefully press them onto the wall. It's easy and damage-free.