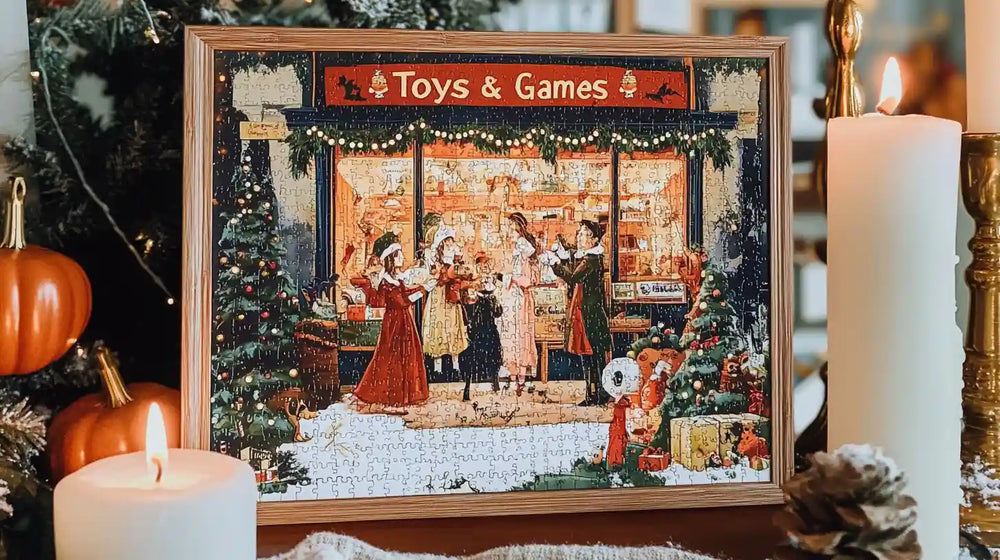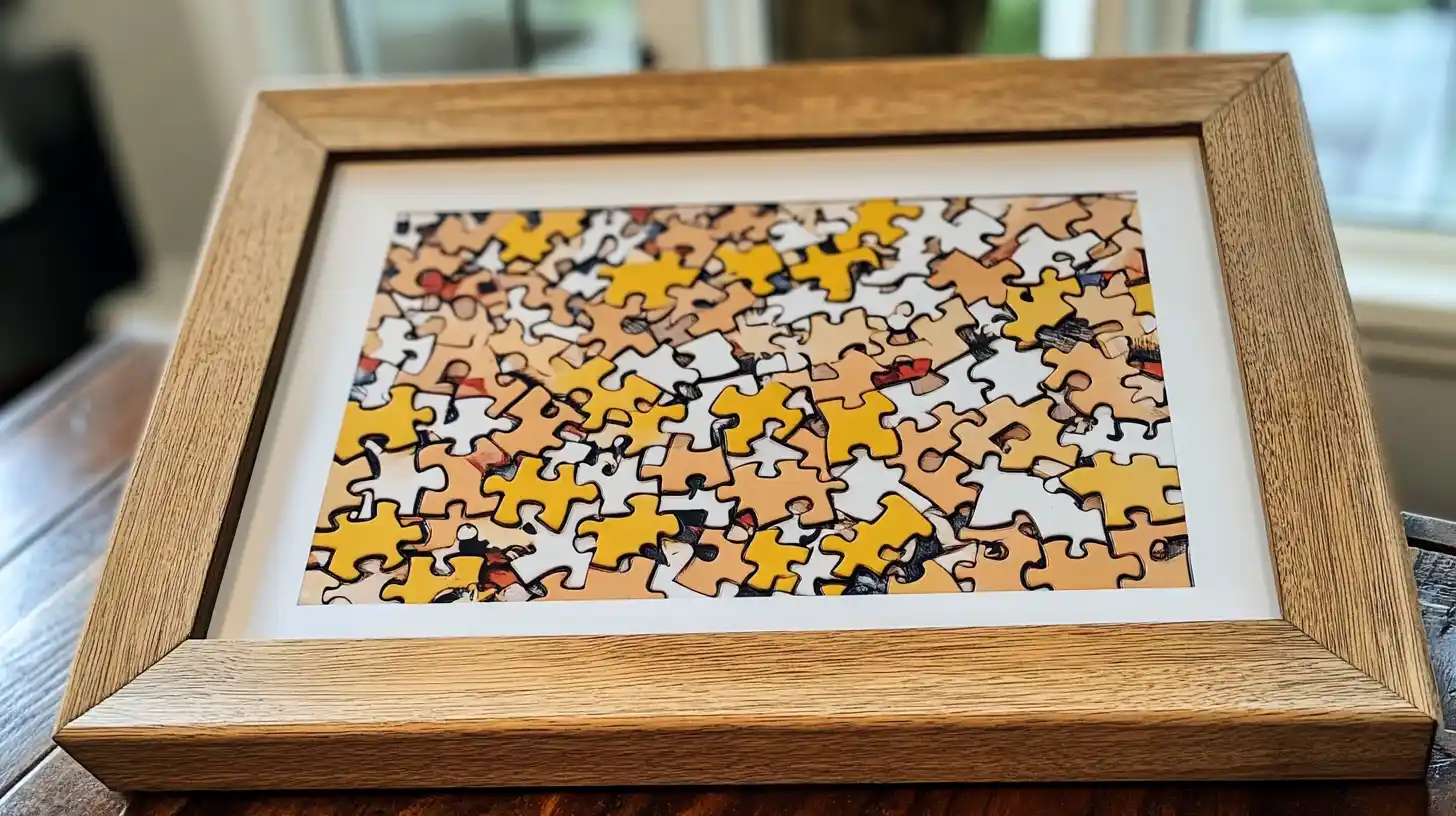
Are you ready to elevate your puzzle experience to the next level? Crafting a wooden frame for your favorite puzzle not only enhances its beauty but also preserves your hard work for years to come. Imagine showcasing your completed masterpiece with pride, transforming it into a stunning piece of art that adds character to any room.
In this blog post, we’ll walk you through the simple yet rewarding process of making a wooden frame, empowering you to create a lasting tribute to your puzzle-solving triumphs!
Key Takeaways
- Measure puzzle dimensions accurately, allowing 1/8 inch clearance for a precise fit.
- Cut wooden strips to size using a table saw or miter saw, ensuring smooth and square edges.
- Sand edges with 220 grit sandpaper to achieve smoothness before assembly.
- Assemble the frame with wood glue and strap clamps, maintaining squareness and stability.
- Prepare a backing board to secure the puzzle, using spray adhesive for proper adhesion.
Materials and Tools
To get started on your wooden puzzle frame, you'll need to gather a few key materials and tools.
- Wood planks: Choose hardwood like oak, maple, or walnut.
- Measuring tape: For accurate dimensions.
- Saw: Either a hand saw or a miter saw for cutting the wood.
- Wood glue: To secure joints.
- Clamps: To hold pieces together while the glue dries.
- Nails or screws: For additional support.
- Hammer or screwdriver: Depending on whether you use nails or screws.
- Sandpaper: For smoothing edges and surfaces.
- Wood stain or paint: Optional, for finishing the frame.
- Brushes or rags: For applying stain or paint.
How to Make a Wooden Frame for a Puzzle: A Detailed Guide

Now that you have your materials and tools ready, let's get started with the step-by-step instructions.
Step 1: Measure the Puzzle
Before you begin cutting any wood, grab your measuring tape and carefully measure the exact dimensions of your completed puzzle, paying close attention to both the width and height.
Mark these dimensions on your frame material with a sharpie, allowing a small clearance (about 1/8 inch) for the thickness.
Check your measurements again to ensure a perfect fit before moving on to the next step.
Step 2: Cut the Wooden Strips
With your puzzle dimensions marked and double-checked, it's time to cut the wooden strips for your frame.
Measure the lengths needed, adding a small clearance.
Using a table saw or mitre saw, cut the pre-finished hardwood strips accurately.
Create a chamfer on the edges for a polished look.
Verify all cuts are square and fit snugly, ensuring they're ready to assemble.
Step 3: Sand the Edges
Grab a piece of fine-grit sandpaper, preferably around 220 grit, to smooth out the edges of your wooden frame pieces.
Sand in the direction of the wood grain to avoid scratches and achieve a polished finish. For consistency, use a sanding block or electric sander.
After sanding, wipe the frame with a damp cloth to remove dust.
Inspect thoroughly to ensure smooth edges.
Step 4: Assemble the Frame
To assemble the frame, first apply an even coat of wood glue to the joints of the frame pieces.
Use a strap clamp to tighten the frame securely, ensuring it remains square.
Measure and create slots for splines at the joints for added strength.
Once the glue dries, inspect for squareness and ensure splines are flush with the surface for a polished finish.
Step 5: Prepare the Backing Board
Preparing the backing board ensures your puzzle stays intact within the frame.
Measure your puzzle's dimensions and cut a piece of hardboard, cardboard, or thin plywood to match.
Apply a layer of spray adhesive evenly across the board.
Carefully place the puzzle onto the adhesive-coated backing, ensuring it's centered and free of air bubbles.
Let the adhesive set properly. Then, you can secure the puzzle in the frame.
Step 6: Add a Protective Cover (Optional)
After securing your puzzle in the frame, you might want to add an extra layer of protection with a cover.
Measure your puzzle and select a piece of glass to fit. Clean the glass thoroughly, then place it over the puzzle.
Use glazing points or small clips to secure the glass to the frame. This protective cover will keep your puzzle safe and display-ready.
Step 7: Add Hanging Hardware (Optional)
Wondering how to hang your newly framed puzzle securely?
Choose the right hanging hardware, such as a D-ring hanger or picture wire.
Attach D-ring hangers one-third down from the top of the frame for balance.
For picture wire, install eye screws on both sides, threading the wire through tightly.
Always test the setup by gently pulling on the hardware to ensure it's secure.
Decor Ideas for the Wooden Frame
Enhancing the visual appeal of your wooden puzzle frame can be both fun and rewarding.
Consider using natural stains like Ipswich pine to highlight the grain and add warmth.
Customize the frame with half-round trim for added dimension.
Rubber bumpers protect walls and frames.
For a cohesive display, match the wood frame's finish with other decor elements and place it in a well-lit area.
Conclusion
You've now mastered the steps to create a beautiful wooden frame for your puzzle. By measuring, cutting, sanding, and assembling with care, you've crafted a personalized display piece. Securing the puzzle and adding optional protective covers or hanging hardware ensures it stays pristine.
Remember to add your own decorative touches to make it uniquely yours. Enjoy showcasing your hard work and creativity with a frame that's as special as the puzzle itself! Don't forget to share your work of art on YouTube!
FAQs
How to DIY a Frame for a Puzzle?
Measure your puzzle, cut a plywood base, and use hardwood for the frame. Chamfer the edges, glue and clamp it square. Stain and seal it, then secure the puzzle and glass, adding rubber bumpers for wall protection.
What Frames Are Best for Puzzles?
You'll find that solid hardwood frames, like oak or maple, work best for puzzles. They're durable and visually appealing. Custom-sized frames with glass or acrylic covers protect the puzzle and enhance its display.
How to Frame a Wooden Puzzle?
You can frame a wooden puzzle by measuring its dimensions and then cutting and assembling a wooden frame to fit. Use wood glue and clamps to secure it. Add a protective finish and attach hanging hardware for display.
Will Any Frame Work for a Puzzle?
Not all frames will work for a puzzle. You need a frame that accommodates the puzzle's dimensions and thickness. Custom frames or ones specifically for puzzles are ideal, providing features like grooves or slots to hold the puzzle securely.