Unlock the magic of wood puzzles by mastering the art of sealing! Whether you're a passionate woodworker or simply looking to preserve a cherished piece, sealing your wooden puzzle is a rewarding endeavor that enhances its beauty and durability.
This process not only protects against moisture and wear but also brings out the wood's rich colors and textures.
Dive into this guide and discover how to transform your puzzle into a stunning, long-lasting treasure that will delight you for years!
Key Takeaways
- Clean the puzzle surface thoroughly, removing dust and dirt before sealing.
- Choose a sealant like water-based or oil-based polyurethane for durability and protection.
- Apply sealant in thin, even coats, allowing each layer to dry completely.
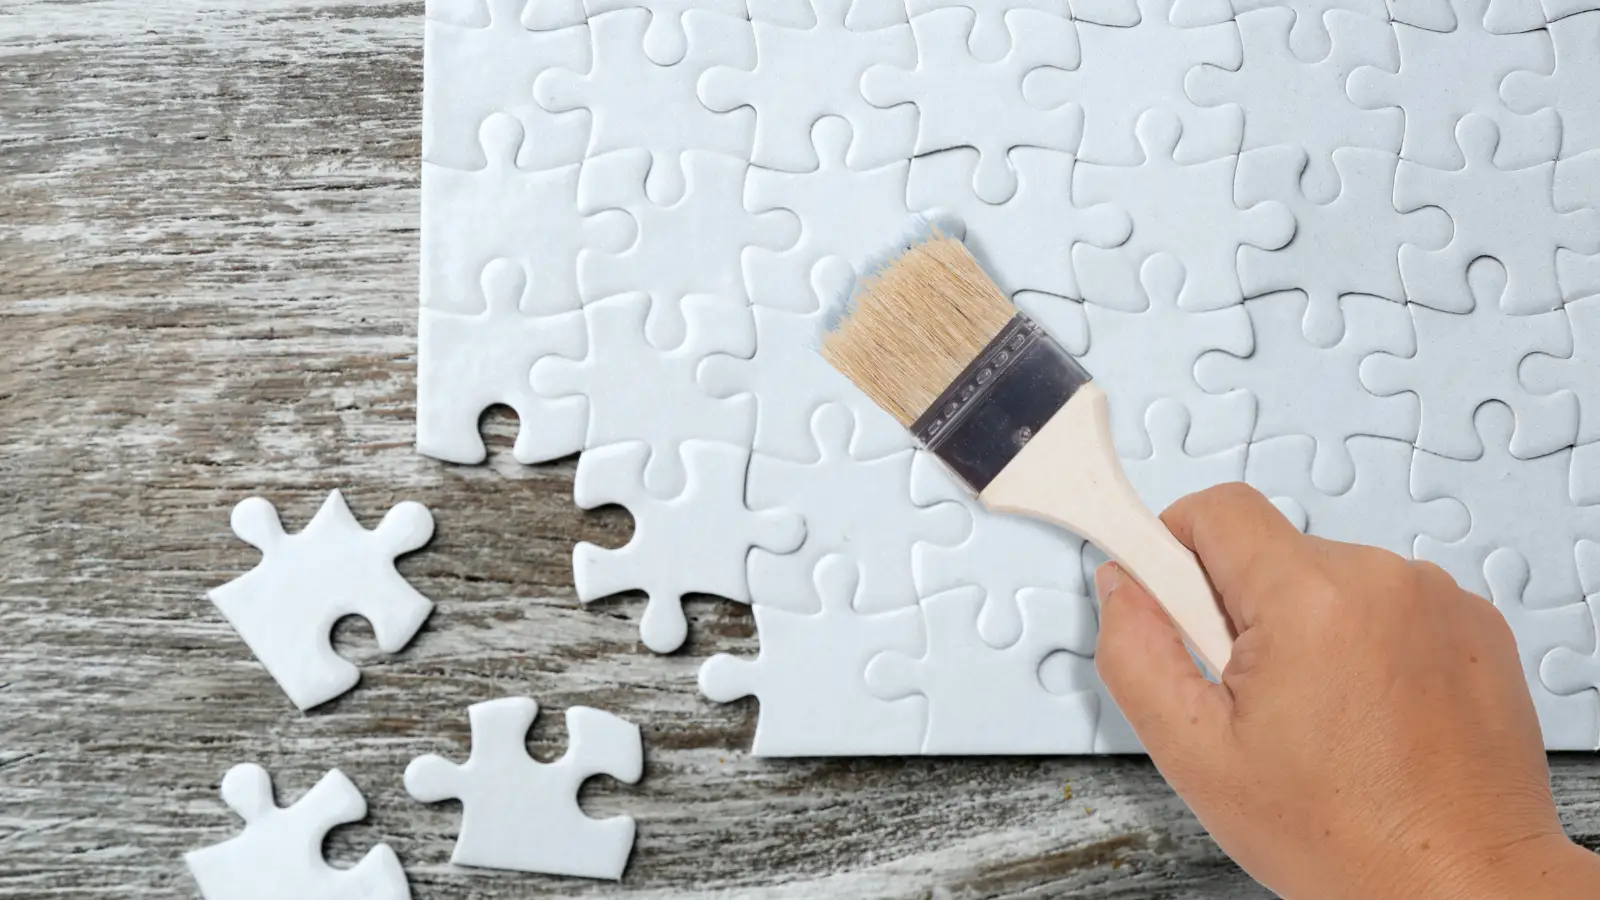
- Use a foam applicator or brush for smooth and precise application.
- Store the sealed puzzle properly to maintain its integrity.
Why Seal a Wooden Puzzle?
Sealing a wood puzzle is a practical way to preserve your hard work.
When you glue a wooden puzzle, you effectively seal it, protecting it from moisture and dust. This process ensures your masterpiece stays intact and ready for display, showcasing your accomplishment.
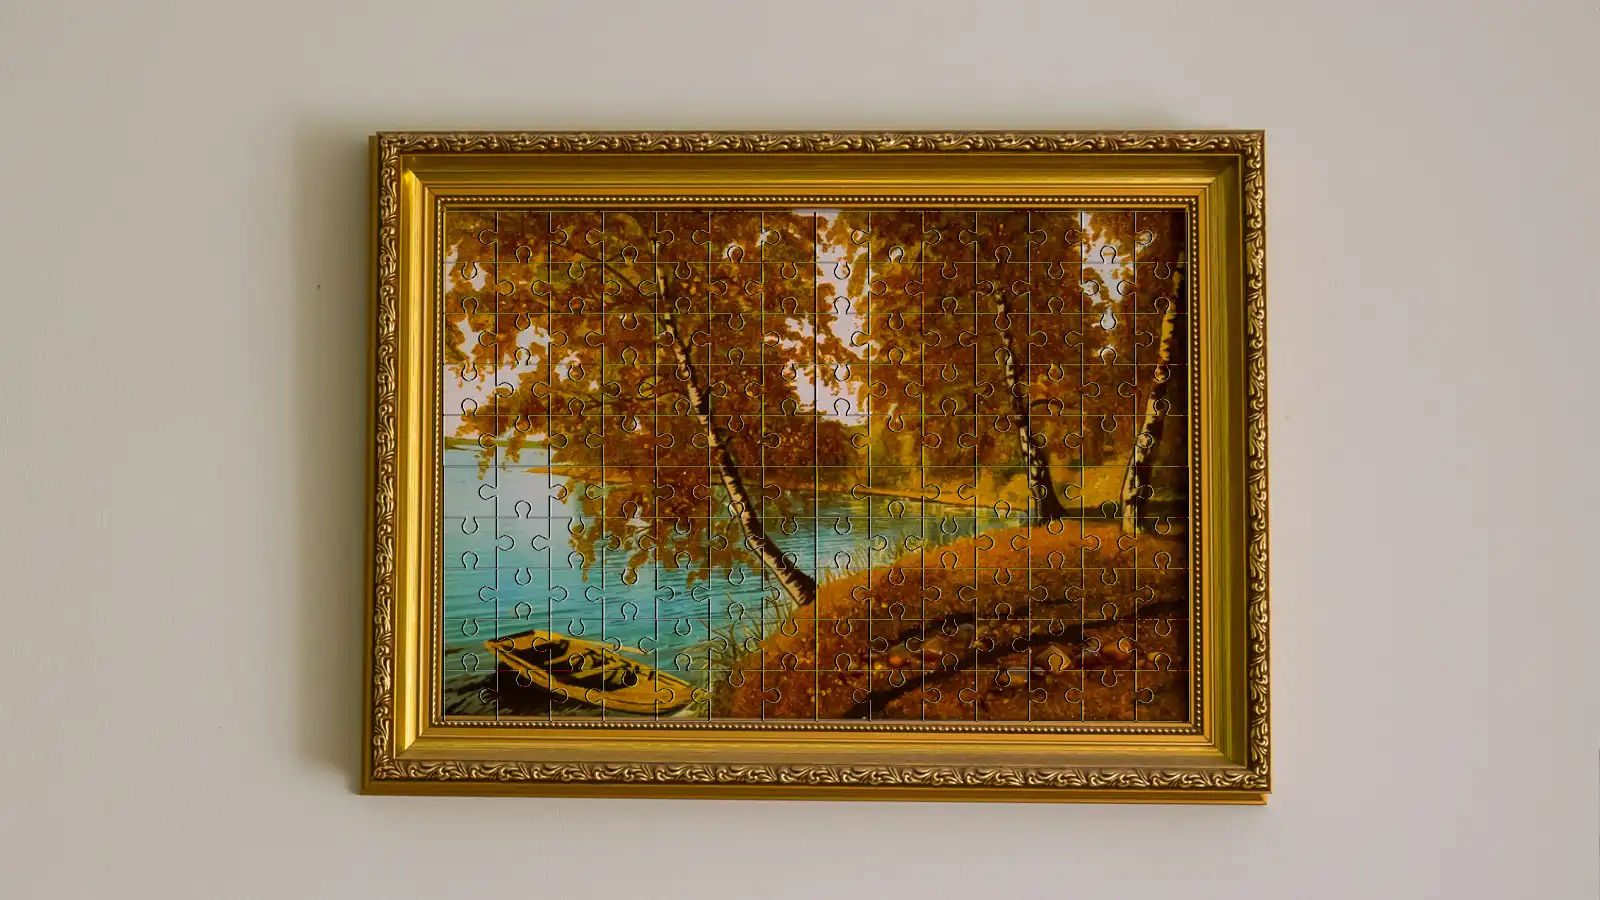
Sealing also makes it easy to frame wooden puzzles, turning them into a cherished keepsake or impressive gifts.
How to Seal a Wooden Puzzle: Preparations
Before sealing your puzzle, ensure it's clean and dust-free. Then, lightly sand the edges of the puzzle to remove any imperfections.
Clean the Puzzle
A wood puzzle's longevity starts with proper cleaning to ensure an effective seal.
Begin by wiping the surface with a damp cloth to remove dust. Be careful not to let moisture seep between pieces. For stubborn dirt, use a mild soap solution.
During cleaning, inspect each piece for damage or looseness. Let the puzzle dry completely, ensuring no moisture remains, before proceeding to the next step.
Sand the Edges and Surface
Smooth edges and surfaces are crucial for a well-sealed wood puzzle.
Start by using 220-grit sandpaper to sand the edges and surface. Sand along the wood grain to prevent scratches and ensure a smooth finish. Pay attention to any rough spots or splinters.
After sanding, wipe the puzzle with a clean, damp cloth to remove dust and debris. Allow it to cure completely before sealing.
How to Seal a Wooden Puzzle: Choose the Right Sealant
When choosing the proper sealant, consider the different options available.
1. Water-Based Polyurethane
Why consider water-based polyurethane for your puzzle? It's a fantastic choice due to its clear finish and low odor.
This sealant provides a durable, protective layer against moisture and scratches.
Each coat dries quickly, allowing you to complete the process swiftly and efficiently.
2. Oil-Based Polyurethane
Beyond water-based polyurethane, let's explore the benefits of oil-based polyurethane.
This sealant offers a durable, water-resistant finish that protects against moisture and wear.
Although it takes longer to dry, the hard, glossy finish enhances the wood's natural grain, making it worth the wait.
3. Wax Finishes
Wax finishes offer a great balance of protection and aesthetic appeal. They enhance the wood grain beautifully, providing a natural sheen. Opt for food-safe wax, especially if kids will handle the puzzle.
Beeswax, carnauba, and microcrystalline waxes each bring different durability levels.
How to Seal a Wooden Puzzle: Application Techniques

When sealing your puzzle pieces, choosing between a brush and a foam applicator can impact the finish.
Use a Brush vs. Foam Applicator
Choosing the right tool for sealing a wood puzzle can impact the finish and durability of your project.
A foam applicator provides smooth coverage, ideal for larger areas, while a traditional brush offers precision to apply glue between intricate edges.
Foam absorbs more product, leading to thicker layers, whereas brushes distribute thinner layers effectively.
Consider which tool suits your puzzle's needs best.
Apply in Thin, Even Coats
Apply the sealant in thin, even coats to achieve a perfect finish when sealing a wood puzzle. This ensures each coat dries completely before adding the next.
Use a foam or flat brush, focusing on even coverage to enhance adhesion.
This technique allows optimal cure time, resulting in a durable, moisture-resistant seal.
How to Seal a Wooden Puzzle: Finishing Touches

To give your wood puzzle a polished look, don't forget these finishing touches.
Add Additional Coats
Adding additional coats of Mod Podge can enhance the durability of your puzzle.
After the initial layer is dry, apply another thin coat for improved protection against moisture and wear.
Let each coat dry for at least 20 minutes, ensuring a smooth finish.
Depending on your preference, 2-3 coats will provide a robust seal.
Remember to allow the final layer to cure for 24 hours.
Final Sanding (if required)
Sanding is essential to ensure your wooden jigsaw puzzle has a smooth, polished finish.
Use coarse-grit sandpaper, like 220-grit, and gently sand along the wood grain. This minimizes scratches and creates a perfect surface for the sealant.
After sanding, remove all dust, as leaving any behind can affect the sealant's adhesion.
Remember to wear a dust mask for protection during the process.
Polishing (Optional)
Polishing a sealed wood puzzle isn't just about appearance—it's about protection, too.
Apply furniture polish with a soft, lint-free cloth to add shine and protect the surface. Make sure to reach all crevices for an even finish.
Buff it gently to reveal vibrant colors. Consider a polish with wax for added durability, ensuring your puzzle stays beautiful and protected over time.
Curing Time
For strong adhesion, allow a minimum curing time of 24 hours. Ensure each coat is completely dry before applying the next one, ensuring about 20 minutes between coats.
Keep the puzzle in a dust-free environment for a protective finish, and check for tackiness before handling it.
Maintenance Tips for Sealed Wooden Puzzles
Maintaining your sealed wood puzzle is key to preserving its beauty and longevity.
Regularly dust it with a soft cloth to keep it clean and prevent dirt buildup.
Keep it away from direct sunlight to avoid fading, and store it in a cool, dry place to protect against moisture damage.
If the finish becomes tacky, use furniture polish, testing first on a small area.
Conclusion
Sealing your wooden puzzle not only preserves its beauty and integrity but also enhances its durability. By carefully preparing the surface and selecting the proper sealant, you ensure a smooth and lasting finish.
To achieve the best results, remember to apply each coat evenly and let it dry completely. Once sealed, a bit of furniture polish adds extra shine and protection. With these steps, you can enjoy your puzzle for years and keep it looking new.
FAQs
How to Preserve a Wood Puzzle?
To preserve a wood puzzle, clean its surface first. Apply a base coat of white paint to protect it. Use puzzle glue on each piece's back. Let it dry, then add a clear sealant for moisture protection.
What Is the Best Sealer for Puzzles?
Choose Mod Podge for its clear, strong finish. It seeps between pieces, ensuring durability. Follow the instructions, and you'll have a beautifully preserved puzzle ready to display.
Will Modge Podge Hold a Puzzle Together?
Yes, Mod Podge will hold a puzzle together. Apply it carefully to both sides, ensuring it seeps between pieces for strong adhesion. Let it dry properly, and you'll have a well-preserved puzzle ready for display.